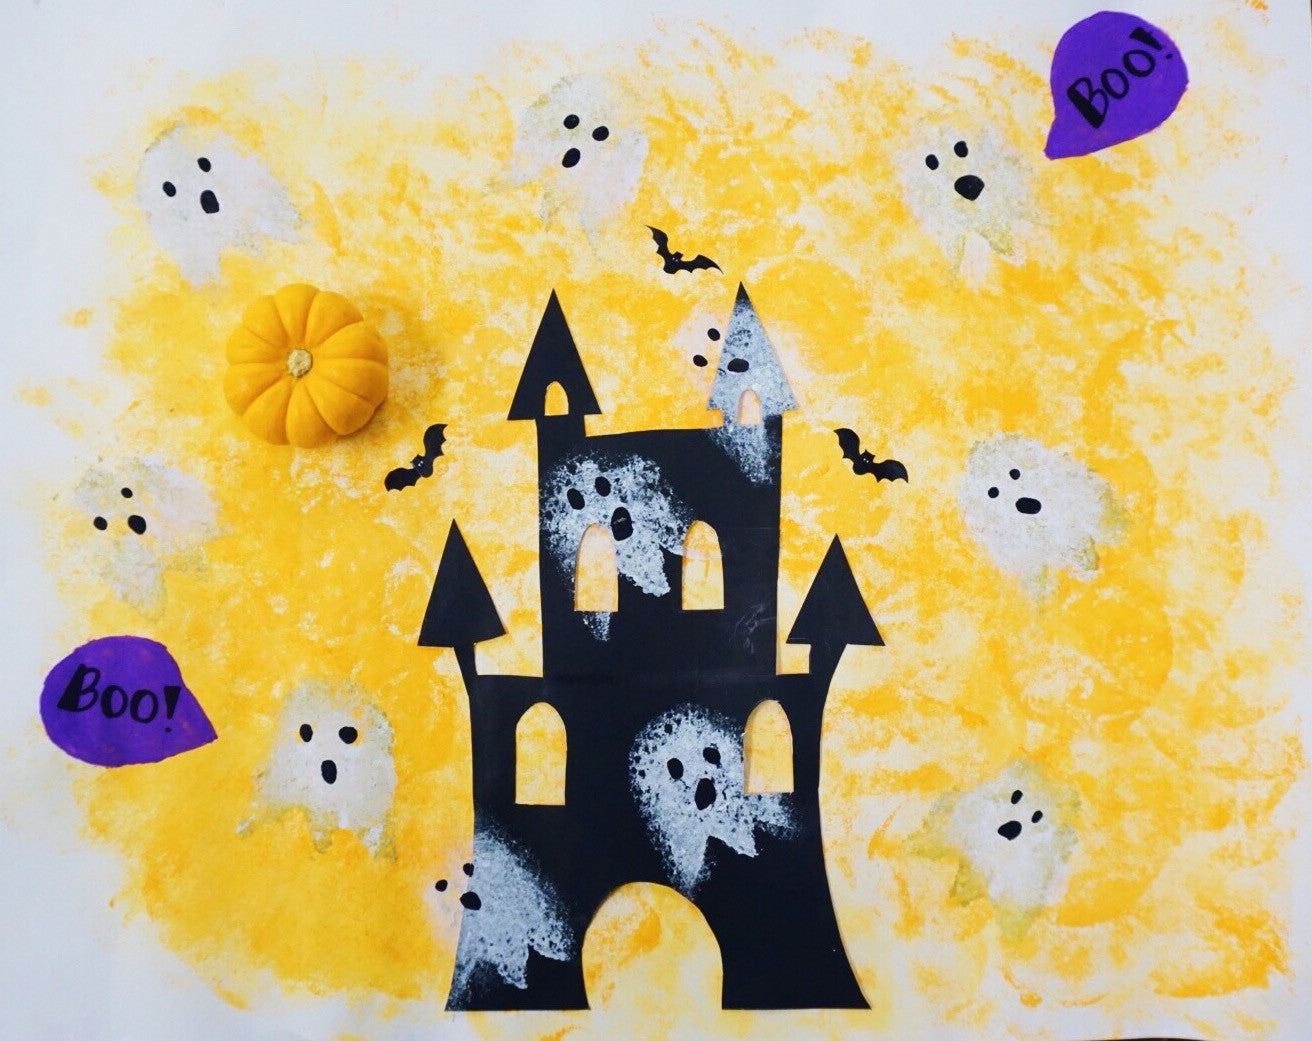
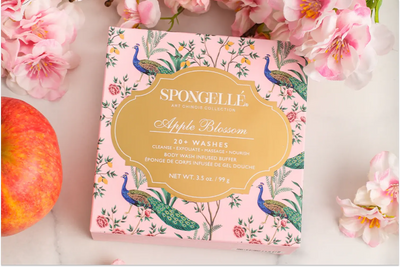
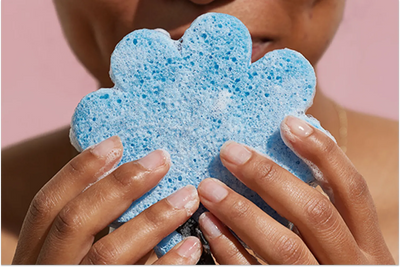
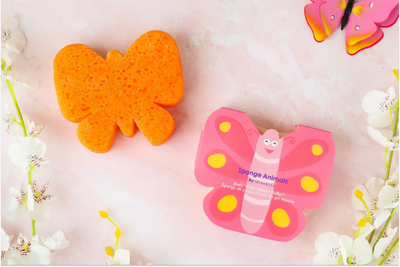
Our Halloween Time Sponge Painting DIY for Kids is a wonderful opportunity to bond over seasonal festivities, as well as to teach your little one the importance of recycling and creative reuse! Learn how to create this fun sponge painted Halloween scene in just four easy steps, utilizing empty Spongelle Beyond Cleansing sponges.

Supplies:
- dark construction paper
- white poster paper
- minimum two empty Spongelle sponges
- black felt tip marker
- pencil
- ruler
- white paint, black paint, orange paint (extra colors optional)
- paper plates (to pour paint on)
- hot glue gun or glue stick
- scissors
- x-acto knife
- adult supervision
Step 1: Create Shapes
Begin with a marker by outlining a ghost onto a Spongelle sponge, previously emptied of all infused body wash, then use scissors to cut it out. Use a pencil and a ruler to draw a spooky castle onto the dark paper, then cut it out with scissors and an x-acto knife.
Step 2: Create Background
Pour orange paint onto one of the paper plates. Dab a second sponge (not the ghost) into the paint making sure to thoroughly coat it all over, and then dab it all over your white poster board to create a "misty" orange background. Repeat this process until satisfied with your background, then glue your spooky dark castle onto the center of the poster board.
Step 3: Sponge Paint Ghosts
Pour white paint onto a fresh paper plate. Dab your ghost sponge into the paint making sure to thoroughly coat it all over, then press it onto the background paper. Rub the back gently, then lift the sponge. Repeat this process until you have ghosts floating all around your castle.
Step 4: Final Details
Allow the ghosts to dry, then draw eyes and a mouth with the black marker. Now that the Halloween scene is complete, take a look and see if you'd like to add any additional details! We chose to print some little bats to glue around our castle, and also painted speech bubbles for a couple of our ghosts. Allow your little one to get creative!


